Showing posts with label gardening. Show all posts

Monday, February 24, 2014

UNDERESTIMATING THE SUN

While the influence of the sun in gardening may be obvious to most, I had clearly underestimated it in a number of places last summer, especially how it effects the direction in which a plant will grow. 
Here are 3 examples.

1) 
I prefer to hide the functional aspects of a garden and I planted these daylilies to do just that by covering where the fence and the ground meet. In my mind they were going to mound, as daylilies tend to do, but instead they were clearly reaching for the sun, growing out towards the lake.
If I wanted them to cover up the base of the fence I would have had to plant them slightly behind it to anticipate their forward motion. 

2) 
At the base of this chain link fence I planted peas and Morning Glories. I knew I would need to help guide and wind them through the fence but I had not really appreciated how much I would be fighting the vines' natural tendency to grow away from the fence and towards the light.  
Next time I will plant them on the north side of the fence and use their pull to the south to my advantage.


3)
Once I took note of the lessons above I started looking for other examples around the yard and noticed this shrub whose branches only grow in one direction - towards the lake and the light.

In the retelling it seems obvious, but thinking ahead to how your plants will grow takes practice. Wish me luck, I hope I now have this one licked but sometimes I need to learn things in the garden more than once!

***
Sharing with Garden Tuesday

Monday, February 17, 2014

HYACINTHS ON THE MOVE

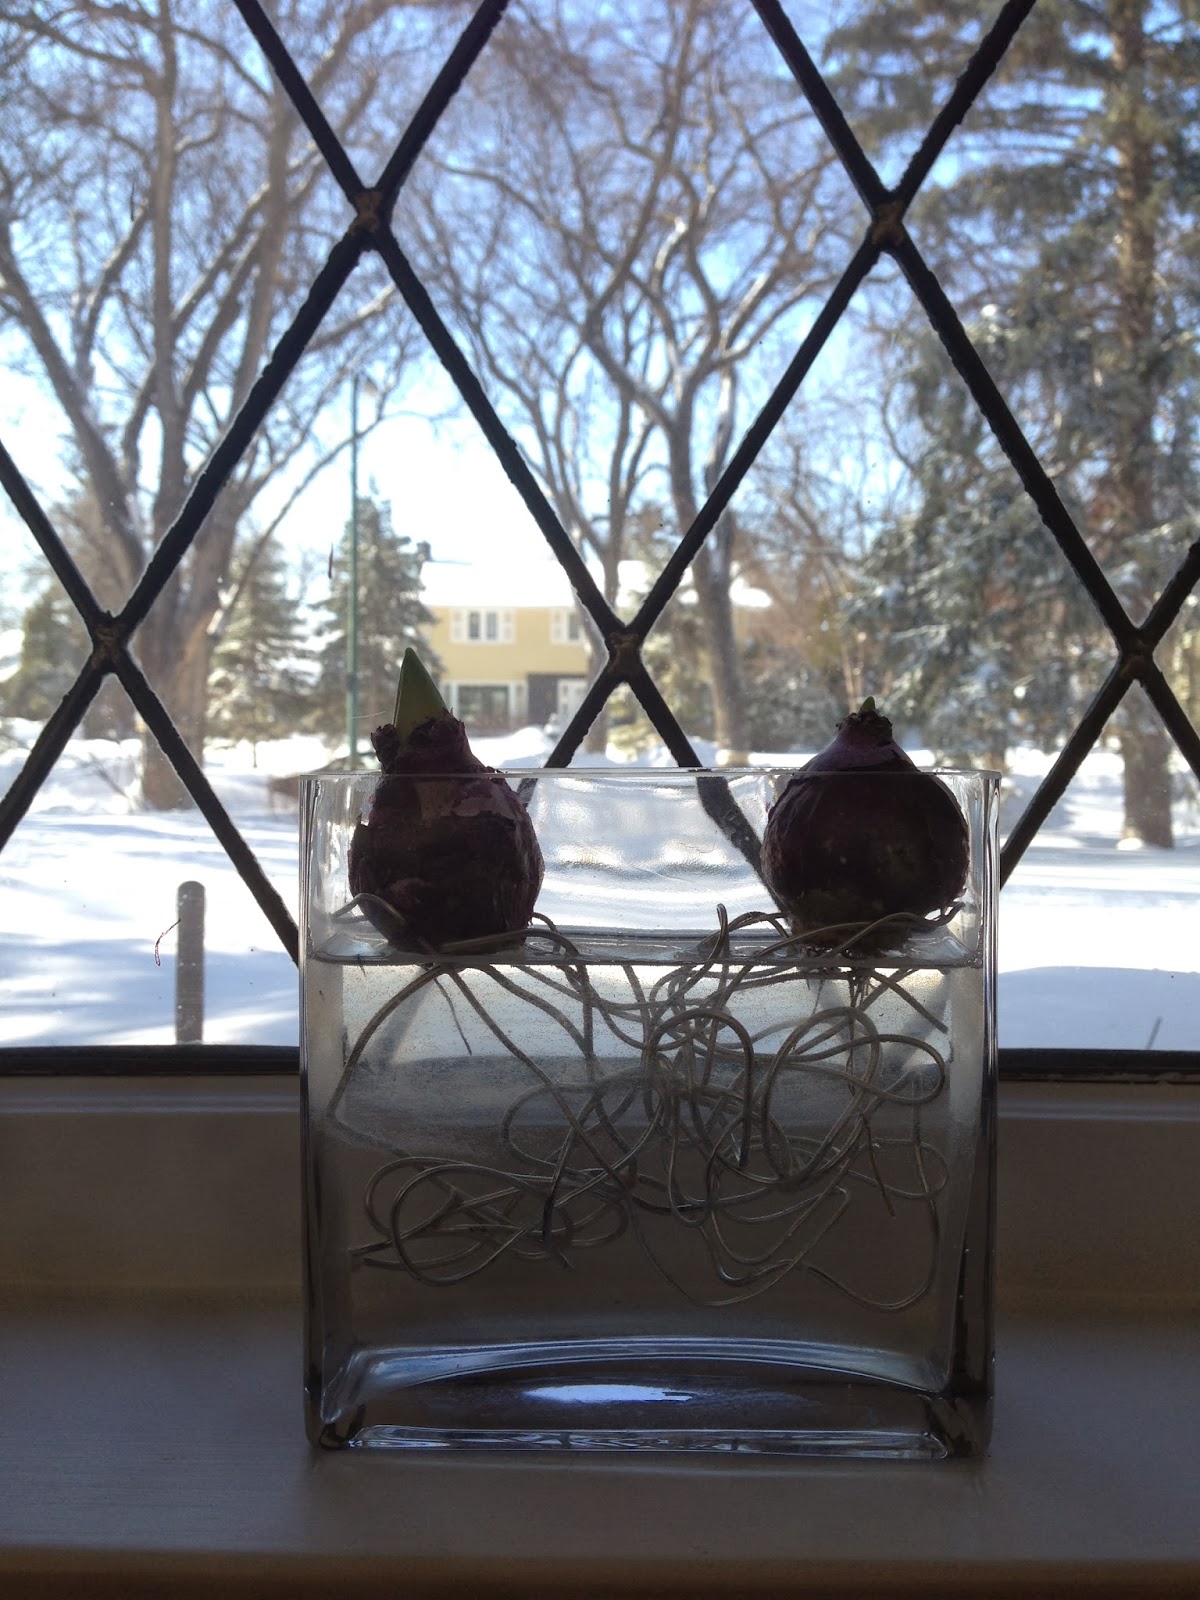
I had heard Hyacinths were easy to force (bloom indoors in mid winter) and I happen to have had some on hand this fall for the first time, so on November 20th I started forcing bulbs for the first time.  

I rested 2 of them above the water line in a small rectangular vase and kept them in the garage (cool dark place) for as long as I could.

Then on December 8th I moved them to the basement when the water began to freeze in the garage.

On February 18th I realized that for something supposed to be easy I had already made a few mistakes. According to Martha Stewart:
- I should have been changing the water twice weekly; I only topped it up occasionally 
- I placed the bulbs in front of a window, so I got the 'cool' part right, but should have had them in darkness
Today they basically have no roots but nonetheless are showing signs of growth; check out the shoot appearing on the left.  
Given the importance of roots though, back to the basement they go, this time to a dark, cool spot.

Cross your fingers for me and hope that I end up with something ever after this mix up.  If so, then Hyacinths really will be easy to force!

Thursday, January 23, 2014

YARD ART - introducing our fountain

From the time we moved in to our new home over a year and a half ago I had been thinking about a fountain and researching through numerous Pinterest posts the idea of building my own fountain.

Then I mentioned it to my husband who immediately fell in love with the idea and two weeks later we had a fountain. I like to gather lots of information before making a decision and he prefers to just get things done. This balance is one of the ways we complement each other, and let me tell you, I am very glad we have our fountain already rather than waiting to build one.  
(I can always build another later!)

Next year I will add plants around its base to give it a rounded appearance and to hide the square concrete base.
Suggestions for low-growing, zone 3, part-sun, deer & rabbit resistant, long-blooming, white perennials welcomed.


It was early September so we were eager to get it out for the limited frost-free nights ahead. We drove it in the back of our SUV onto the lawn after dark, placing it off-centre and closer to the rounded edges of the Moon Garden and our bench, rather than in the centre of the lawn. 

Our fabulous neighbour stopped by to toast our new addition. 
We love any reason to use the bench in the front and this new addition is a great one. Not only does it look great but it has a great sound: as the chamber in the base empties the sound of running water becomes higher pitched and more audible, a kind of musical 'tinkling' sound. 

I like asymmetry so this modern style was just up my alley, and it is plug & play: run an extension cord and fill the basin and you are good to go. 

As you can see it also adds winter interest which is a nice bonus.

***
Sharing with Fertilizer Friday

Wednesday, January 15, 2014

TUCKED AWAY


When sitting on the bench looking at our home there is a lone branch hanging down from the large Blue Spruce between you and the house, and believe it or not, as slight as it is, it serves to create a vague sense of separation.
When combined  with the Peony it creates almost enough of a barrier that you feel sheltered from the bright lights of the house.

Intimately close, yet at the same time set apart. 

Paeonia lactiflora ‘Festiva Maxima’
It is an illusion I am trying to enhance by adding five new peony Festiva Maxima

I am also dividing the existing lightly pink-tinged Peony into three and planting them along the border and the pathway. New and old have been inter-planted and odd roots that fell away from the transplant were thrown into the same holes as the new plantings. The more blended these two are, the better.

While I have read that Peony do not like to be transplanted  I have personally had luck with it before, so I am willing to try again.   My hope is that the increased size of the Peony border between the house and bench will enhance the sense of separation and increase the feeling that one is tucked away in a forest.

***
Sharing with Fertilizer Friday
and Garden Tuesday

Friday, January 10, 2014

YARD ART - location, location, location

We had a bench on our front porch in Toronto but have no porch to place it on in Winnipeg.
What to do, what to do? 

Under these circumstances I think of the bench as 'yard art'; putting it directly in the yard means it has to look as fashionable as it does functional.

 Before I plant plants I first place them where I think they will go (and generally always make adjustments). It was no different with this bench.
The first place I thought of was on the lawn outside the garden proper but after a few short weeks the lawn under the bench started to die back for lack of sun.

Next I plunked it down in the middle of the Bishop's Goutweed.
While it is not quite a field of poppies à la Wizard of Oz, I liked the sense of being completely surrounded this spot created. There was even already a rudimentary "path to nowhere" curving in that general direction.

My parents had some large paving stones they needed rid of and so a platform for the bench was quickly and inexpensively made to keep the Goutweed from completely engulfing the bench. 

According to Better Homes and Gardens "A curving walkway provides more visual interest than a straight path -- and accents the garden around it." Plus it minimizes how visible the concrete blocks used for stepping stones are; you can make a beeline from the house to the bench without having to stare at the functional concrete stones and then you get to travel through the garden and around the Peonies to get to it.

Eventually we repainted a portion of our home's exterior and painted the bench the same colour with leftover paint. Love or hate the orangey-brown (we still flip-flop ourselves), it is a nice touch that they now coordinate.

It will be quite exciting to see the plants grow up and around the bench with it already in situ next spring.

***
Sharing with Garden Tuesday

Thursday, January 02, 2014

ANATOMY OF A MOON GARDEN - overview map

Finally, a map of the Moon Garden, where all flowers are white unless otherwise noted.

Given I put this map off all summer and fall I know there are gaps in it where I simply cannot recall (hence the need for the map) that I will have to fill in as plants return next year - or not.  While annual Impatiens and Petunias are visible below I am not mapping them and will use them to fill in gaps amongst the perennials. 

Green circle far left is Hemerocallis. Standard orange daylilies.

Smaller blue circle is Lily-of-the-Valley; was already here and has white blooms - perfect fit.

Large pale pink circle is Bishop's Goutweed; was already here with white variegated foliage - perfect fit.

Red hexagons far left are Peony. I divided an existing light pink one and add five new whites in the fall. 

Orange circle is Solomon's Seal.

Yellow dashed circle is Daffodils, last year they were hidden by Solomon's Seal by the time they bloomed, I hope they are earlier this year.

Green chevrons are variegated Hosta which I may move to the front as an under-story to the Peony since they were essentially hidden by the Impatiens last year.

Blue squares are  Bleeding Hearts which kept their shape right into the freezing weather.

Brownish red hourglass is a volunteer Milkweed from the Alpine garden.

Yellow stars are Foxgloves. I will add five more this summer.

Mint green 'not equal' sign are Candy Tuft, designed to be lower growing at the front of the border but a favourite of rabbits as it turns out.

Blue/grey cross are Echinacea, also enjoyed by rabbits.

Another Bleeding Heart off by itself has frilly foliage but was eaten down by rabbits very quickly. Let's hope the roots took and we find it back again. 

Dotted purple line is about 9-11 Allium.

Purple star-burst is a Peony Tree. Planted late, let us hope it survives.

Golden diamonds are Goat's Beard which shall grow tall and provide some substance to the back border.

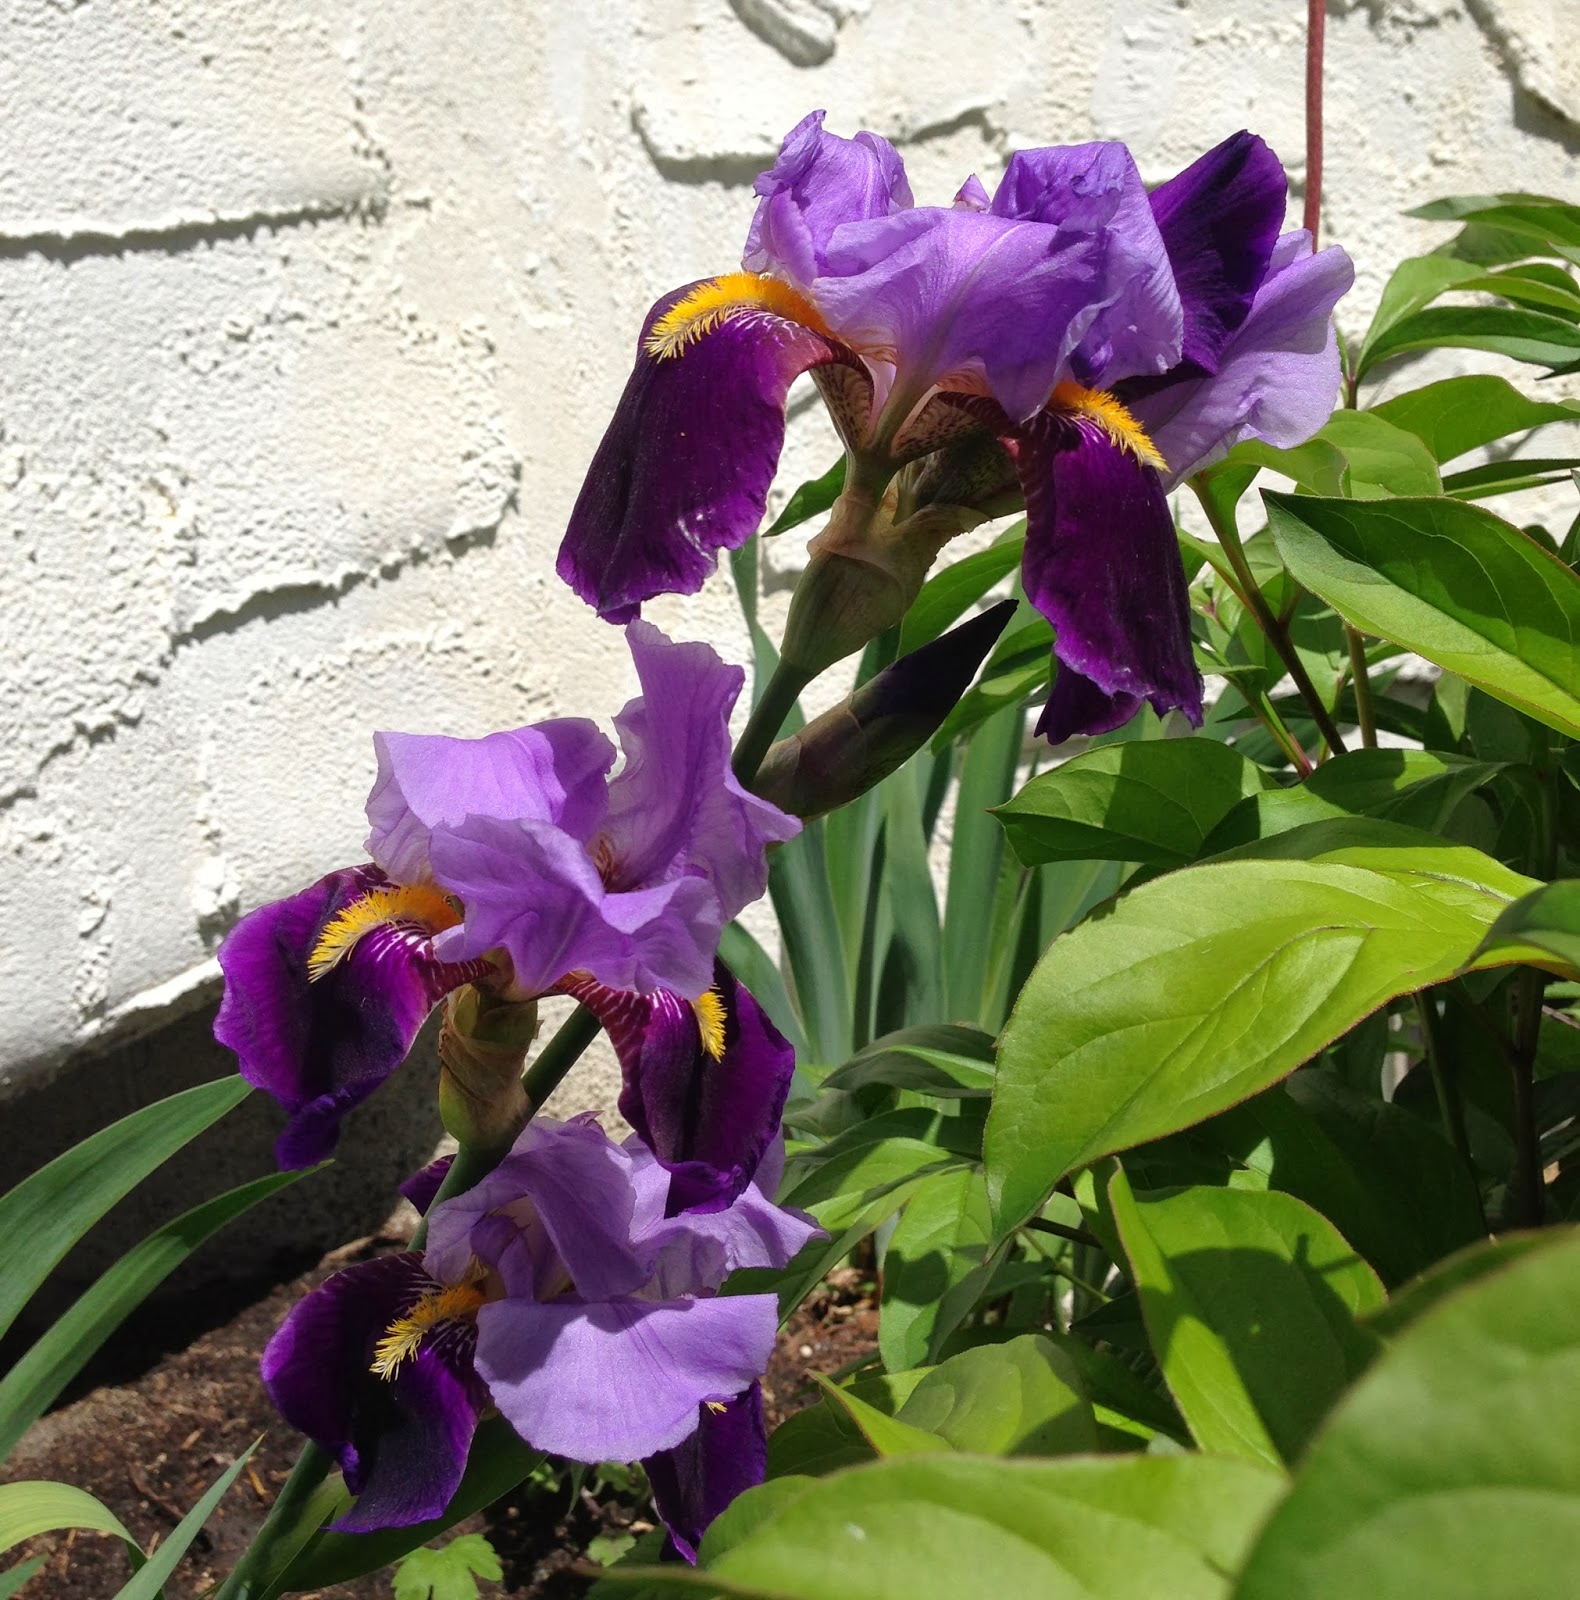
Large yellow rectangle are 10 re-blooming tall bearded Iris.

Two brown 'flag' shapes represent Lupine that I started from seed and were still very small still at the end of the season.

Blue/grey ovals along the back are Lily-of-the-Valley.

The bright green dashed-line 'witches hat' is 25 Hyacinths. My first year planting them.

The red bullseyes are Tall Phlox designed to cover up the bottom of the trees.

Yellow sideways diamonds are Shasta Daisies, the two beside the  path are "Broadway Lights" and the rest I started from seed last year but did not see any blooms from.

The dashed purple is again Allium, this time the petite "Allium Graceful" (white with flecks of purple) along the front border.

The blue triangles are Dianthus that I refer to as my stowaways.

On the other side of the path we have yellow circles representing Lamium as groundcover and more tall Phlox.  

In front of the hedge we begin our transition to the Monet Garden with a variety of purple Allium and a mix of purple and white Crocus.

Phew!
Stay tuned for deeper dives on different sections of the Moon Garden

***
Sharing with Today's Flowers
& Garden Tuesday

Tuesday, December 31, 2013

HOLIDAY URN - bring back the apples!

This spring I transformed my front door planter into a woodland scene by transplanting a small spruce, some moss, lily-of-the-valley, and even a large stone from the woods around the Manitoba cottage (then added Violets for colour).  
The intent is for it to be a fairly permanent arrangement.

 When it came time to turn it into a holiday arrangement I waffled about what to do until the soil froze, thus making the decision for me that I would not incorporate the 'apples-on-a-stick' that looked so great last year.

Instead I added some over-sized red ornaments and birch sticks to the existing woodland scene. 
   
 It certainly looked wintry enough when it was covered with snow.


However with the ornaments in the background rather than the foreground and the container frozen into place and no way to turn it around...let us just agree does not compare to last year.


Meet me back here same time next year to see how I will have incorporated the apples once again into my little woodland scene.

Happy New Year!

***
Sharing with Outdoor Wednesday

Saturday, December 28, 2013

STOWAWAYS - a story of survival

This past spring digging about in the front lasagna garden I came across live plants buried within on three separate occasions.  According to plan they should have composted over the winter but I have since realized that most articles written about lasagna gardens have not been written by zone 3 gardeners and not much composting happened for 5 frozen months.

The lone plant in the bottom right corner (above) was quite substantial and  healthy in a bed where I had not planted anything yet. Eventually I found a second one as well.

Then some lovely variegated Vinca started popping up as well.
Curious.


 What I had put into the bed however were the discarded plants I collected from the generous folks at Jensens' Nursery, where they allowed me to cart off loads of plant material they had pulled from their display gardens to use in the construction of my lasagna gardens.

 
I transplanted to the Moon Garden what turned out to be white Dianthus, where they fit in perfectly with the all-white theme (don't worry, those "Broadway Lights" Shasta Daisies above faded from yellow to white).

These stowaways had clearly not only survived the winter but had somehow 'hibernated', and with some warmth from the composting lasagna garden spent the winter without dying back.

Stowaways - who would have thought?

***
Sharing with Friday Floral Fotos

Saturday, December 14, 2013

THE FORGOTTEN MONARDA - update to the monet garden map

My Monet Garden will be purples and blues and my Sun Garden is already bursting with yellows, reds and oranges.
So where does this Monarda fit in?

In the photo above it looks pink and below it looks more purple. In either case I think it clashed with the Sun Garden. What do you think?


Between wanting the Sun Garden to stay true to its palette and needing both more height and colour in the Monet Garden I made a last minute decision to transplant it just before freeze up.


There are two Monardas in the Sun Garden, both bought at the Friends of Gardens Manitoba annual plant sale and both labelled "red".  The other stayed relatively small and never bloomed so let us hope that it is actually red, while this plant grew so vigorously in one year that I divided it into three.
 By surrounding it with blues and purples I hope to make it seem more purple and less pink.  I added it in the green rectangle otherwise reserved for Delphinium (top left), where they should get as much sun as any plant in this garden.  Nothing to do for now but hibernate and wait.

Do you think this colour of Monarda was better suited for the Monet Garden or the Sun Garden?


***
Sharing with Today's Flowers, Floral Friday Fotos
& Garden Bloggers Bloom Day

Saturday, December 07, 2013

WINTER INTEREST IN THE GARDEN - birds

Today it is -22 Celsius and there is not much going on in my gardens.  
Do not get me wrong, it is very, very pretty out but there is not that much activity, no buzzing bees or butterflies wafting through the air.  

There are however birds, and the best way to get to see them is by providing them with food. After all they are so small they could use our help; did I mention it is -22 Celsius out?

I placed this suet feeder just outside our kitchen window where we can see them every day. Today I had what appears to be a little woodpecker of some type as well as the usual Chickadees.

Quick tip: freeze the suet before you place it in the feeder or be prepared to get very greasy fingers!
Lesson learned.

***
Sharing with Nature Notes, Outdoor Wednesday, Camera Critters & Saturday's Critters

Sunday, December 01, 2013

ANATOMY OF MONET GARDEN - 3 of 3

In my first post about the Monet Garden I detailed the plants I initially added this past spring.
Now I am writing about the plants yet to join in and enhance the purple-and-blue theme that defines the Monet Garden.

By-and-large last spring I planted the lasagna gardens I built and left the pre-existing beds alone.  Therefore  next year's additions are primarily in areas that existed before we moved in. I spent time observing and now I am ready to plant.

I learned that this garden does not get as much sun as I had hoped but I still think that these plants will work given the back left corner is the sunniest part.
The green rectangle will be filled with Delphinium, 5 blue in as many shades as possible and 2 purple, also different shades.

The pink triangle was originally Blazing Star and its replacement is still up for debate|:  
More Dutch Iris (I'll know this spring if they work).
Monkshood is high on my list but also highly poisonous and I have a new puppy dog; better safe than sorry. Salvia would be quite nice: long blooming, mid-sized and purple. I just need to find a variety for the shadier side.

In the green oval Ostrich ferns will encircle the bottom of the Lilac run behind it providing a backdrop for Astilbe and a tall compliment to the Heliopolis that will border it in the Sun Garden.

The orange blob will be fluffy purple Astilbe. I have never grown them successfully but I have not yet tried since reading up on their care - and that of course should make all of the difference. 

The yellow splotches will be Primula, hopefully I will come across some drumstick varieties in a mix of purples.


Some suggestions from Facebook I am will one day incorporate include Forget-Me-Nots (which I tried unsuccessfully from seed last year but am not giving up on), Phlox stolonifera (Creeping phlox), Jacob's Ladder, Giant Lobelia.


When you put it all together this is what it looks like. 
At least for now.

Suggestions for other purple and blue plants for zone 3, part shade are welcome.

Parts 1 of 3 & 2 of 3
***

Saturday, November 16, 2013

ANATOMY OF MONET GARDEN - 2 of 3


Earlier this week I posted about the first of three stages in creating my "Monet Garden" by describing what I planted last spring.  This post is about what I just finished planting today. The third post will detail what I am going to plant next spring and pull it all together in one terribly messy map.

The pink rectangle are 5 purple Nicky Phlox. I hear they can get by with part sun but will there be enough?

phlox paniculata nicky
Stay tuned.

Yellow oval represents 25 Atropurpureum Allium which may bloom at the same time as the surrounding Iris.

Allium atropurpureum. Pure love. The grass underneath is Festuca glauca, a cool season grass.
Stay tuned.

In the odd orange shape with a 90 degree angle are 200 Pearl Blue Species Crocus  If they work well there will be many more.

Stay tuned.

Purple circle top left is a random mix of 25 each of Delft Blue and Peter Stuyvesant plus 3 other shades of blue in quantities of 12, 10 & 8, all randomly mixed together. Plus 6 from the second mix below.
Hyacinth Flowers   

Left hand circle has 42 randomly mixed Sky Jacket and Blue Jacket which may have been planted too late in the season to survive!
Hyacinth orientalis 'Sky Jacket'   Image of Hyacinthus orientalis 'Sky Jacket'
Stay tuned.

The small bright blue circle represents 25 Dutch Iris which are a fitting addition to my Monet colour palette.  I would have loved to put in up to 200 right away but I am still learning how much light this bed actually gets and I need to see some proof before I dive in.

Dutch Iris Blue & White Blend

 This is what it looks like when fall is added on top of spring.
The Blazing Star have been removed from where the Iris and Hyacinths are, I have already transplanted as many of the 80 as I could find to where they will get more sun. 

Parts 1 of 3 & 3 of 3
***
Sharing with Fertilizer Friday

Saturday, November 09, 2013

CLOSING UP SHOP

Short of getting my order from Van Fleur with literally still dozens of things to plant and freezing temperatures creeping in, I am done and ready to finish closing up shop.  
Thank goodness the weather has been hospitable.

I grew lots of plants in the Sun Garden this summer I had never grown before so I had to learn about their pruning procedures and it turns out they almost all get severely cut back:


I will leave them until last and see how I am feeling...

Let us hear it for tomorrow, one of the season's final days to be spent outside.
Hip hip hooray!

***
Sharing with Fertilizer Friday, Today's Flowers, Floral Friday Flowers, Very Close